When it comes to designing for the web, optimizing your images is crucial for ensuring fast loading times and a great user experience. Adobe Photoshop and Illustrator are two popular tools used by designers to create and edit images. In this article, we will guide you through the process of saving images for the web in Photoshop and Illustrator, helping you strike the perfect balance between image quality and file size.
Saving Images for Web in Photoshop:
- Resize your image: Before saving an image for the web, it's important to resize it to the appropriate dimensions. In Photoshop, go to "Image" > "Image Size" and enter the desired width and height values. Remember to maintain the aspect ratio to avoid distortion.
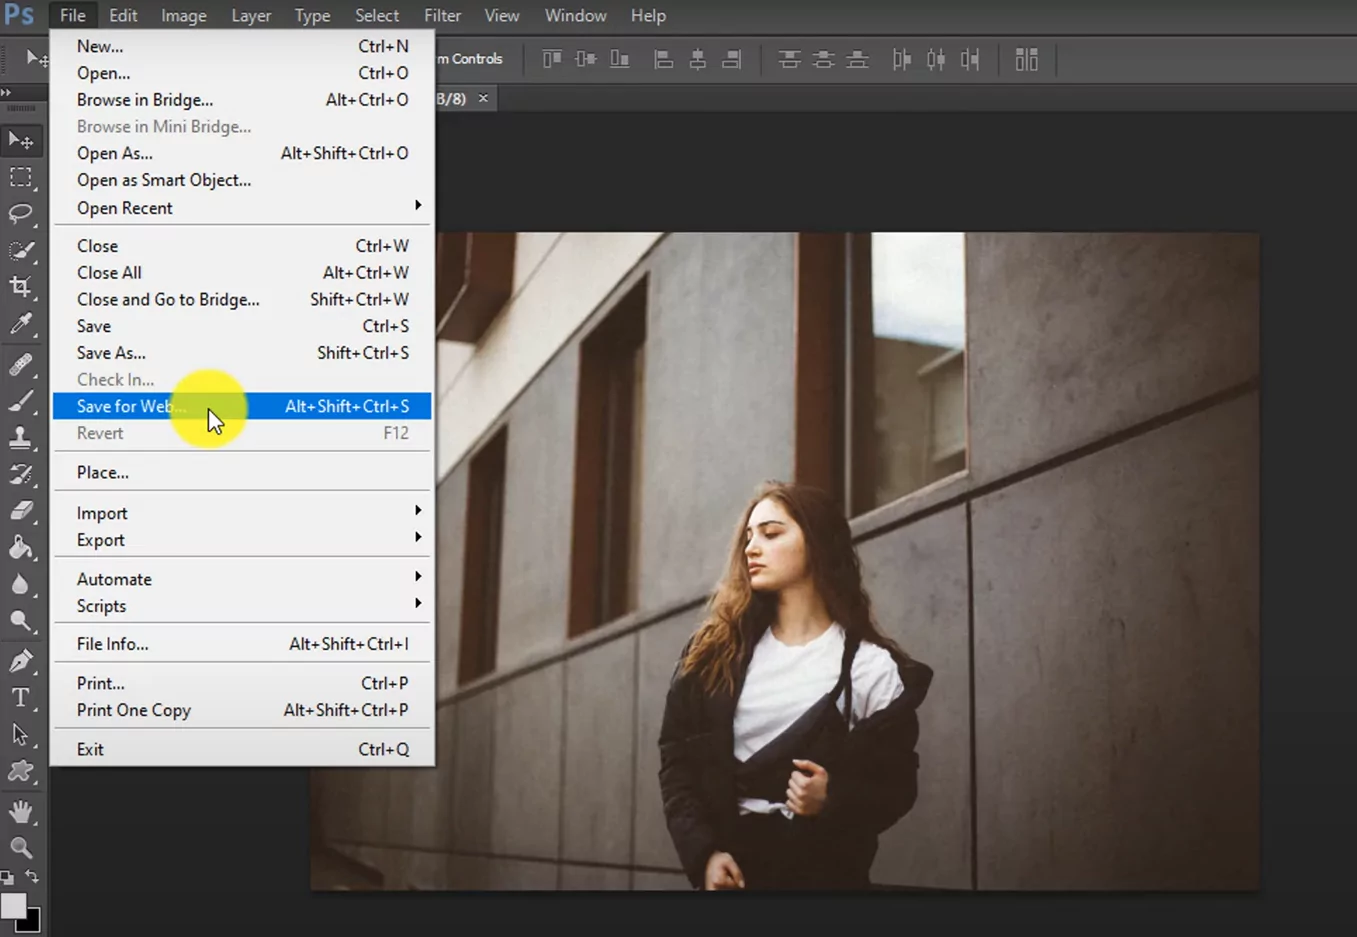
- Optimize the file format: The choice of file format can significantly impact the file size and image quality. For graphics and illustrations with solid colors or transparency, use the PNG format. For photographs or images with complex gradients, the JPEG format is more suitable. In Photoshop, go to "File" > "Save for Web" (older versions) or "Export" > "Save for Web (Legacy)" (newer versions).

- Adjust quality and compression: In the Save for Web dialog box, you can adjust the quality and compression settings to find the balance between image quality and file size. Preview the image in different formats and experiment with the settings until you achieve the desired result. Keep in mind that reducing the quality too much can lead to visible artifacts, while higher quality settings result in larger file sizes.
- Optimize metadata: Remove any unnecessary metadata or additional color profiles embedded in the image, as they can increase the file size. In the Save for Web dialog box, ensure that the "Metadata" option is set to "None."
- Preview and save: Before finalizing the image, use the preview options in the Save for Web dialog box to see how the image will look in different web browsers. Once you are satisfied, click the "Save" button, choose a location to save the optimized image, and provide a suitable file name.
Saving Images for Web in Illustrator:
- Prepare your artwork: In Illustrator, ensure that your artwork is correctly set up and organized. Remove any unnecessary elements or hidden layers that are not required for the web version of the image.
- Export options: To save an image for the web in Illustrator, go to "File" > "Export" > "Export for Screens." In the Export for Screens dialog box, you can specify the format, size, and other export settings.
- Choose the appropriate format: Similar to Photoshop, select the appropriate file format based on the type of image. For graphics and illustrations, use PNG, while JPEG is suitable for photographs or images with complex gradients. Choose the desired format from the "Formats" drop-down menu.
- Adjust export settings: Depending on the chosen format, you can adjust additional settings such as resolution, compression, and transparency. Experiment with the settings to achieve the desired balance between image quality and file size.
- Export and save: Once you have configured the export settings, click the "Export" button. Choose a location to save the optimized image, provide a suitable file name, and click "Save."


